Gear Reverse Engineering
Understanding Gear Reverse Engineering
What is Gear Reverse Engineering?
Reverse engineering can be used to determine the gear geometry of an old, worn out gear that needs replacing, or to recreate a replica of an existing gear or gear component without having the original blueprints or specifications.
A question we get quite often is whether PairGears can reverse engineer gears for a customer. Many times a customer may not know the exact parameters of the gear they need, but they do have a sample part in front of them.
So, to help the customers re-make new gear same with what they have, we wanted to come up with a short guide on how we do a gear reverse engineering.
What data do we need?
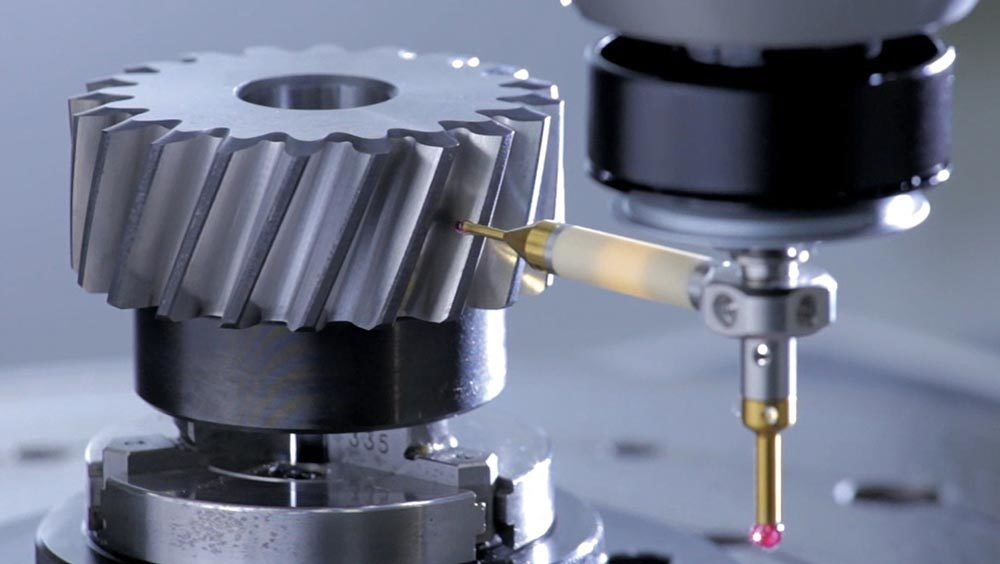
Gear reverse engineering is a critical process that demands precision manufacturing data. Don't think you can reverse engineer gears with these simple tools (like Micrometer, Calipers, or Pi Tape) and SolidWorks! Pairgears is equipped with state-of-the-art 3D scanning measurement tools and advanced CMM probing systems, ensuring that every aspect of the gear is accurately captured and recreated. We understand that even the smallest deviation can impact performance, which is why we prioritize precision and quality at every step.
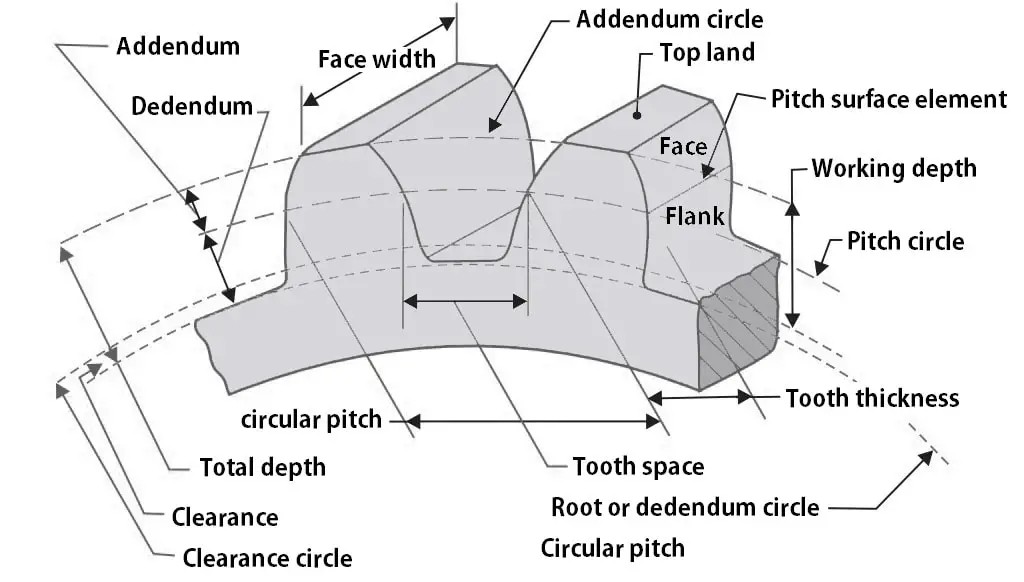
Formulas for determining some of these terms include:
|
Addendum
|
1.0 ÷ diametral pitch
|
|
Clearance | 0.157 ÷ diametral pitch | |
Diametral Pitch | Number of teeth ÷ pitch diameter | |
Number of Teeth | Pitch diameter * diametral pitch | |
|
Outside Diameter
|
(Number of teeth + 2) ÷ diametral pitch
|
|
Pitch Diameter | Number of teeth ÷ diametral pitch | |
|
Tooth Thickness
|
1.5708 ÷ diametral pitch
|
|
|
Whole Depth
|
2.157 ÷ diametral pitch
|
|
Working Depth | 2 ÷ diametral pitch | |
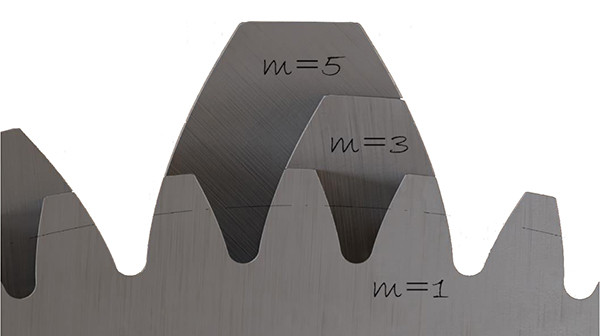
Module Comparison
The Gear module represents actually how big or small the gear is. By mathematically it is the ratio of pitch circle diameter in millimetres to the number of teeth. It is usually denoted with m.
The gear module formula is M = D/T
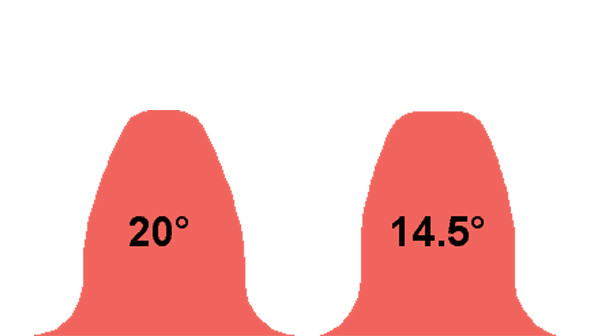
Pressure Angles Comparison
Pressure angles are either 14.5, 20 or 25 degrees. 20 degrees is by far the most common. Notice how the 20° is thinner on top and wider at the base. Gears with a 14.5° pressure angle tend to go almost straight up at the base of the tooth.
Steps for Reverse Engineering a Gear
Step 1 Measurement
• Visual Inspection: Examining the gear for wear, damage, and unique features to guide the reverse engineering process.
• Measurement Gathering: Taking precise measurements of gear dimensions, tooth profiles, and center distances using appropriate tools.
Step 2 Gear Analysis
• Tooth Profile Examination: Analyzing the gear tooth profiles to determine the gear type, pressure angle, and module or diametral pitch.
• Material Identification: Conducting material analysis to ascertain the gear material composition and properties.
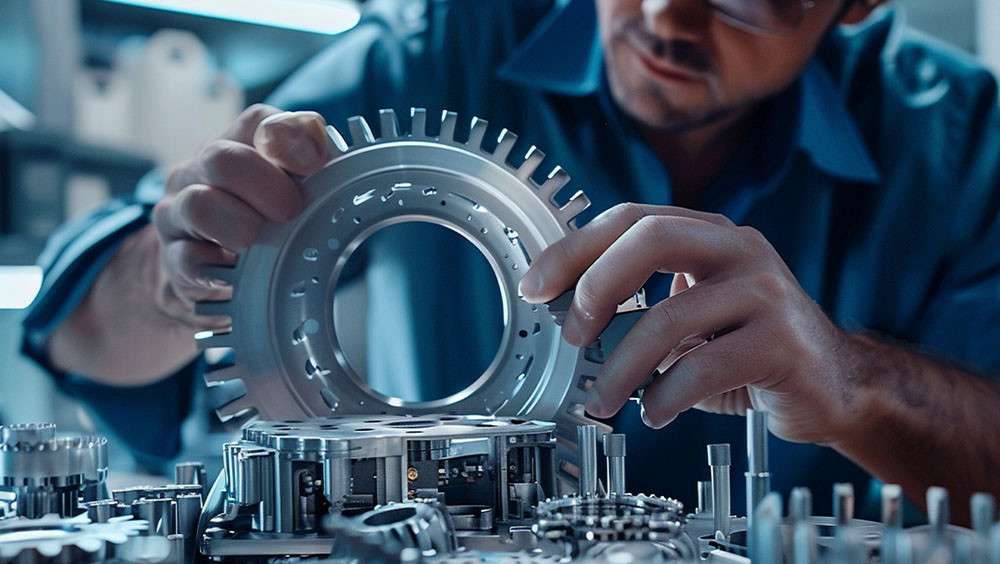
Step 3 Digital Modeling
• 3D Scanning: Creating a digital model of the gear through 3D scanning, capturing its exact geometry and dimensions.
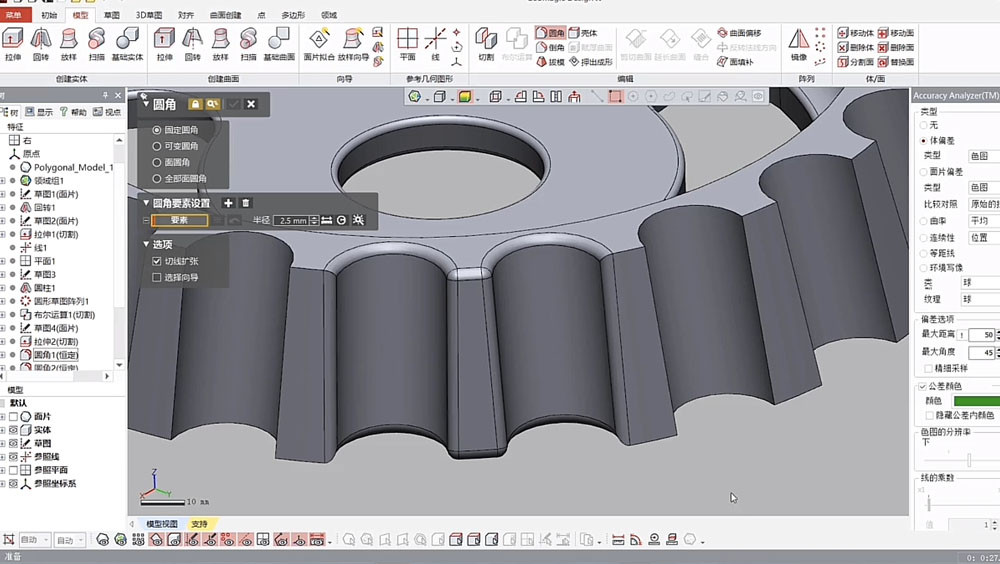
• CAD Reconstruction: Using CAD software to reconstruct the gear's design based on the captured data, ensuring accuracy and fidelity.
Step 4 Prototyping and Testing
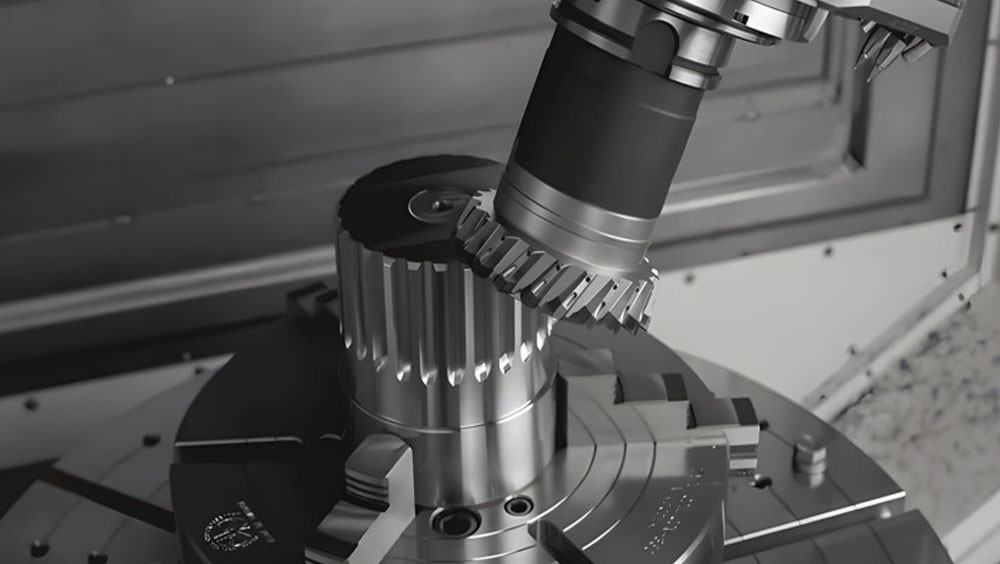
• Prototype: Manufacturing a prototype of the reverse engineered gear to validate its performance and compatibility.
• Functional Testing: Conducting testing to ensure that the reverse engineered gear meets the required performance and durability standards.
Conclusion
Due to forged and cutting issues, product deformation and irregularities may occur. When performing reverse modeling, it is crucial to address these issues and not directly use the scanned data, as it may lead to problems. The most important goal is to obtain perfectly structured and production-ready data.
With many years of experience, PairGears have honed our skills and developed robust methodologies to deliver precise and reliable reverse engineering services.
PairGears team of highly skilled engineers utilizes the Renishaw's CMM probing systems, Gleason and KISSsoft to ensure that we can accurately replicate and improve gear designs. We understand the complexities involved in reverse engineering gears, including addressing any deformation or irregularities that may arise from cutting issues. Our commitment to excellence ensures that the final data we provide is perfectly structured and ready for production use.
By partnering with us, you can expect:
• Utilizing cutting-edge measurement tools that provide high accuracy and reliability.
• Conducting thorough analyses to address any deformation or irregularities.
• Applying our extensive experience and knowledge to ensure optimal gear performance.
• Delivering data that is perfectly structured and ready for manufacturing.
Should you have any questions or require further assistance, please do not hesitate to contact our engineer ben@pairgears.com.
